
Wood-turning and twist grooving (slot broaching) are the two main functions of the EagleTec cnc wood lathe. Before machining, we need to do programming as per the production requirement. Here is the detailed cnc wood lathe programming tutorials course for grooving jobs.
EagleTec is committed to building cnc wood lathes of great quality and providing the best after-sales support to our users. Our cnc wood turning machines has been favored by most of the customers. To check our full product line, please click here.
For your information, the slot broaching is a machining process after the woodturning completed, and its blank is the wood-turning workpiece we have just finished. From this we can know, the programming of the slot-broaching is based on the previous wood-turning programming file. So, to program it, we only need to make a little change in the previous wood turning design file. Of course, the wood turning file should be well saved on your computer first. Now, let's have a look at how to do programming for twist grooving step by step in AutoCAD.
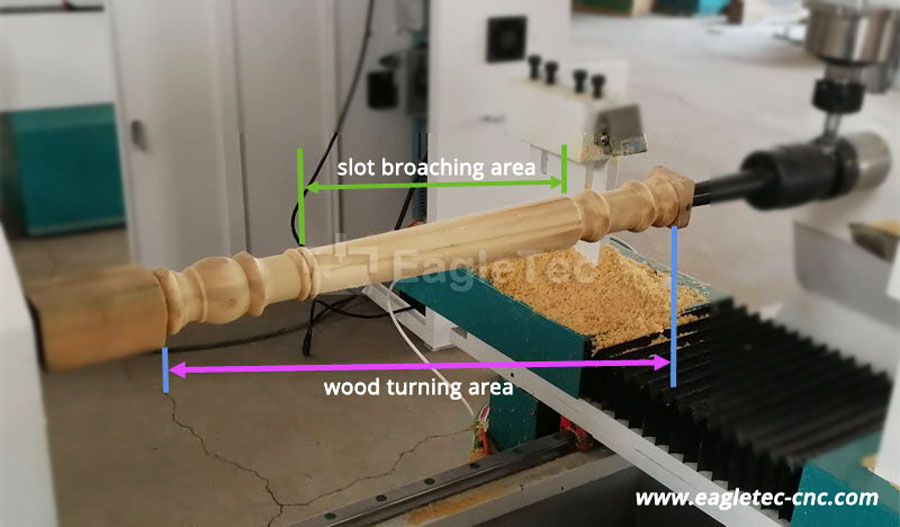
As we know, broaching is the next step of wood turning in the machining procedure. And the slot broaching area is only part of the turning area. For this point, please refer to the picture below.
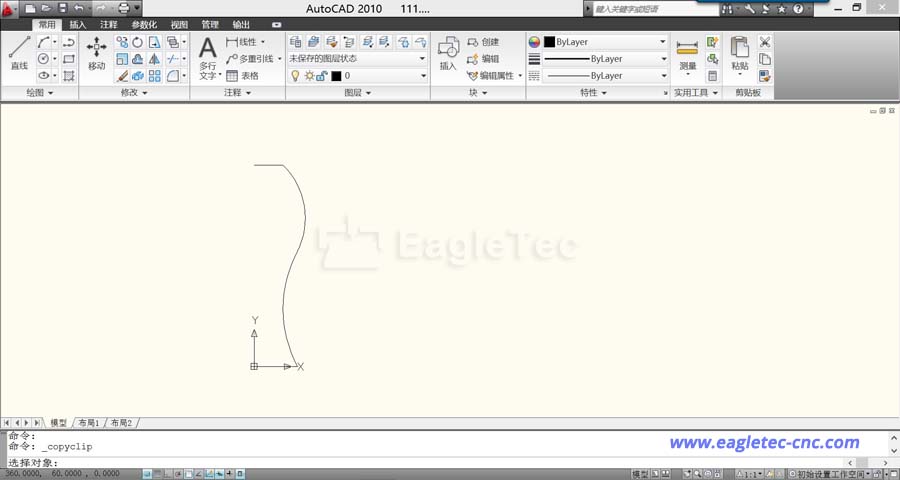
Please open the wood-turning programming file in AutoCAD like the picture below.
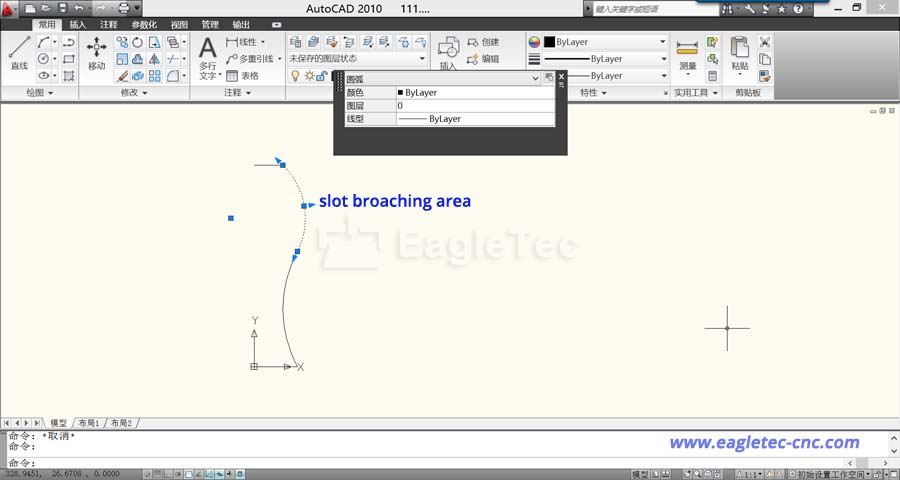
In this file, we will reserve the area that needs to be slotted, and the rest of the area will be deleted. Please refer to the picture below for better understanding, the dotted line is the area that needs to be grooved.
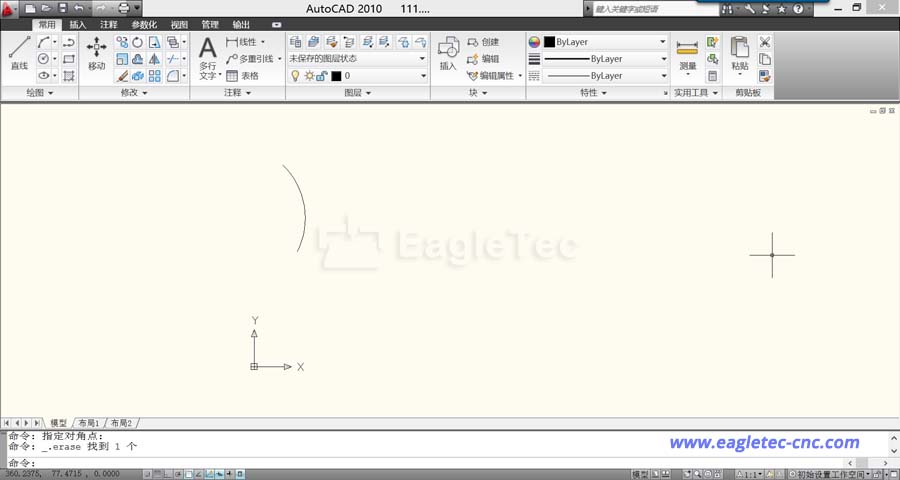
After the rest deleted, it should look like this. We can see from the picture below, only the slot broaching area is there now.
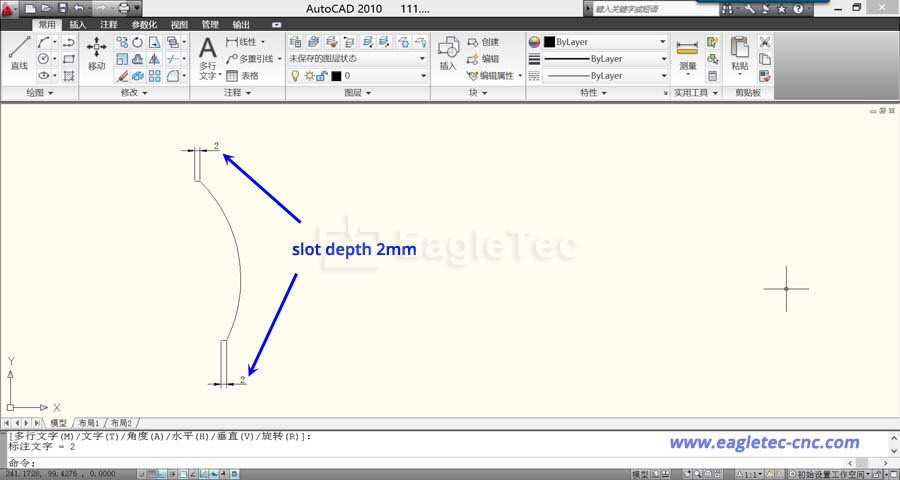
Then we draw a 2mm long line segment at the top and bottom of the line segment. The 2mm is the depth of the groove during actual machining. It is very important that the slotting depth here cannot be over the cutting depth of your arch type slotting router bit. Please refer to the diagram below to get a clear idea.
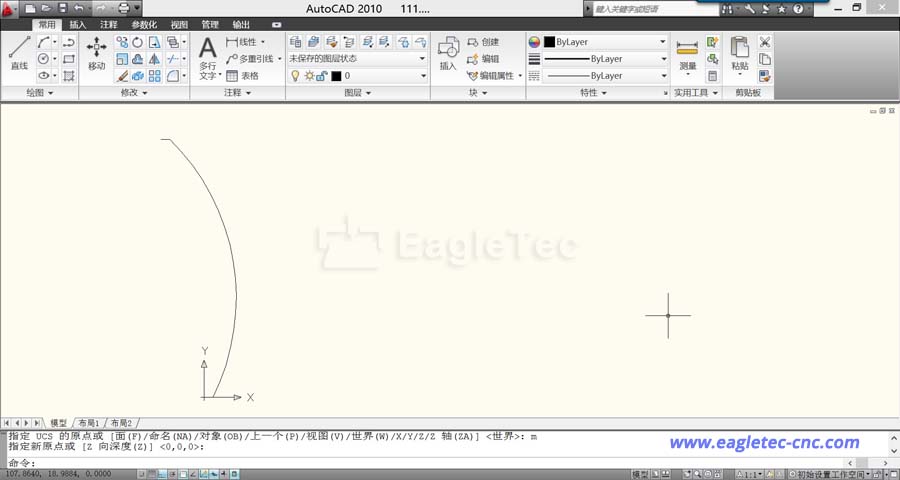
Move the coordinate origin to the lower-left corner of the drawing in AutoCAD.
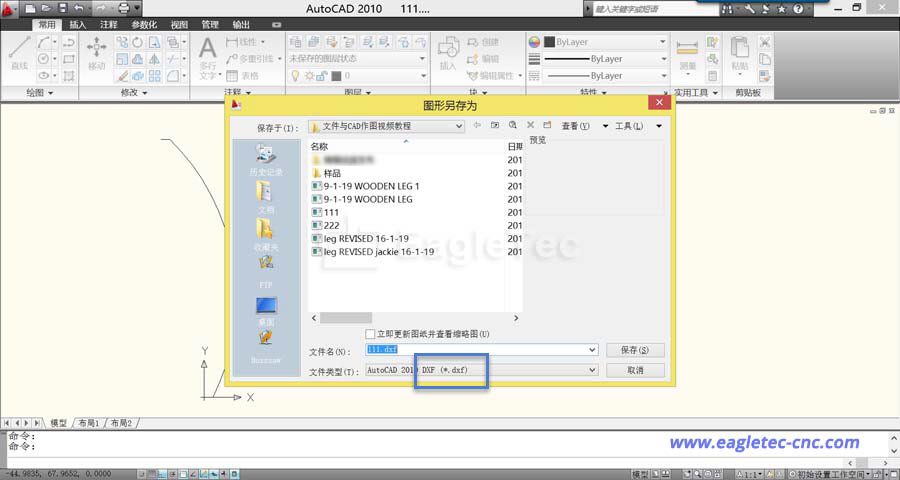
Until now, the cnc wood lathe programming for slot broaching is completed, please save the file with extension *.dxf in your computer. And later input it into DSP hand-held controller for machining purposes.
By watching the video below, you will understand better the whole process of programming.
Hope you enjoy the course!
CNC Wood Lathe Hardware Tutorials Free Download
Copyright: original works, for permission to reproduce, reprint, please be sure to indicate the form of hyperlinks to the original source of the article, author information and this statement.
Copyright © Jinan EagleTec Machinery Co., Ltd. All Rights Reserved | Sitemap